



 Sales:
  Customer Service:
How to Remodel Your Kitchen: Step-by-Step Guide

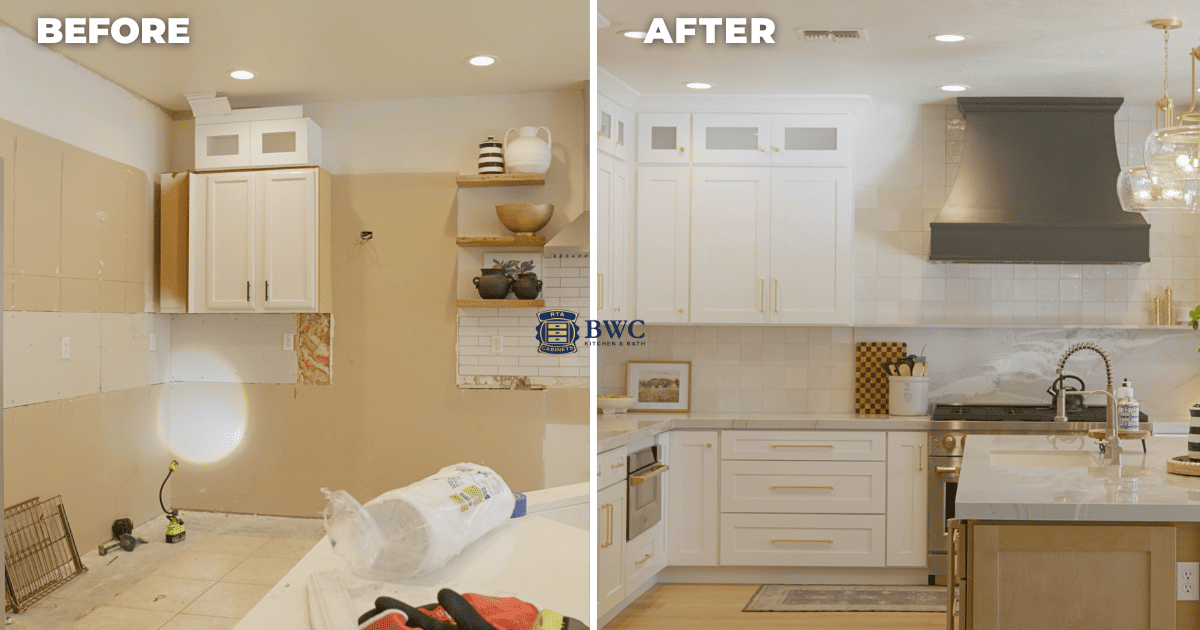
Table of Contents
Kitchen remodeling is a major construction project disguised as a design update. It combines layout planning, cabinetry selection, and appliance upgrades with real work on your electrical, plumbing, and structural systems. When executed correctly, a kitchen remodel improves workflow, increases safety, and adds measurable property value - often delivering one of the highest returns on investment of any home improvement project.
These projects range from cosmetic refreshes to full gut renovations. That range demands precision: rushed or poorly planned remodels lead to code violations, failed inspections, and expensive rework.
This guide gives you a professional, step-by-step kitchen remodel roadmap. You will learn how to plan your layout, build a realistic budget, avoid common engineering mistakes, and follow the same construction sequence used by experienced contractors.
Why Remodel Your Kitchen?
Before starting a kitchen renovation, clearly define the goal of your project. Establishing scope early helps prevent budget overruns and design mistakes.
Common reasons homeowners remodel their kitchens include:
- Improving workflow and cooking efficiency
- Increasing storage space
- Updating outdated appliances and materials
- Fixing structural or plumbing problems
- Increasing property value before selling
Regardless of your reason, the most successful remodels start with a defined layout strategy. Today's designers organize kitchens into four functional work zones:
- Prep zone
- Cooking zone
- Cleaning zone
- Food storage zone
How Much Does a Kitchen Remodel Increase Home Value?
Kitchen remodel ROI varies by scope, materials, and local market, but most projects recover 60–80% of their total cost. Minor remodels consistently outperform luxury renovations on a percentage basis.
According to industry reports, kitchen updates consistently rank among the most valuable improvements homeowners can make.
The upgrades that typically contribute the most value include:
- Quartz or granite countertops
- Hardwood or tile flooring
- High-quality cabinetry
- Energy-efficient appliances
Because cabinetry often represents the largest portion of the project budget, many homeowners choose Ready-to-Assemble (RTA) cabinets to achieve premium features like solid wood doors and soft-close drawers while keeping costs manageable.
Average Kitchen Remodel Cost
Kitchen remodel costs vary significantly based on three primary drivers: square footage, structural layout changes, and material grade. While a gallon of paint is inexpensive, the "fixed assets" like your cabinetry and countertops will determine 60% to 70% of your total investment. Here is a straightforward breakdown by project scope:
| Minor cosmetic remodel | $12,000 – $20,000 |
| Standard full remodel | $35,000 – $65,000+ |
| Major structural remodel | $70,000 – $120,000+ |
Kitchen Remodel Budget Breakdown
For a high-end, balanced result, professional contractors follow a Standardized Allocation Model. This ensures that the "visual anchors" of the kitchen receive the most investment, while enough remains to cover the invisible costs that often derail a DIY project.
| Cabinetry and hardware | 30–35% |
| Labor and installation | 20–30% |
| Appliances | 15% |
| Countertops | 10% |
| Contingency fund | 10–15% |
For a small kitchen remodel, costs at the minor end typically run $12,000 - $25,000 depending on finishes. A 10x10 kitchen remodel cost - the industry benchmark square footage generally falls between $15,000 and $30,000 for a mid-range finish level.
Note: Always include a contingency budget for unexpected issues such as hidden water damage, mold, or outdated wiring discovered during demolition.
Kitchen Remodel Timeline Overview
A full kitchen renovation is a marathon of coordination. While the actual construction phase typically spans 6 to 12 weeks, the Pre-Construction period, which includes design, permitting, and material procurement, can add an additional 8 to 16 weeks to your total calendar.
| Planning and design | 2–4 weeks |
| Ordering materials | 3–8 weeks |
| Demolition | 1–3 days |
| Rough plumbing and electrical | 3–7 days |
| RTA Cabinet installation | 2–4 days |
| Countertop fabrication | 1–2 weeks |
| Finishing work | 1–2 weeks |
While custom cabinet shops often require 12–20 weeks for production, ready-to-assemble cabinets are the best solution for maintaining momentum. Because they are in-stock and ready-to-ship, BWC cabinets arrive on-site in estimated 7–10 business days, allowing you to finish your kitchen in weeks rather than months.
13 Steps to Remodel a Kitchen
Avoid the chaos, "decision fatigue," and costly mid-project pivots that derail most DIY renovations. Professional builders utilize this field-tested 13-step sequence to ensure that every trade, from the plumber to the painter, enters the job site at the exact right moment.
Step 1: Kitchen Remodel Planning
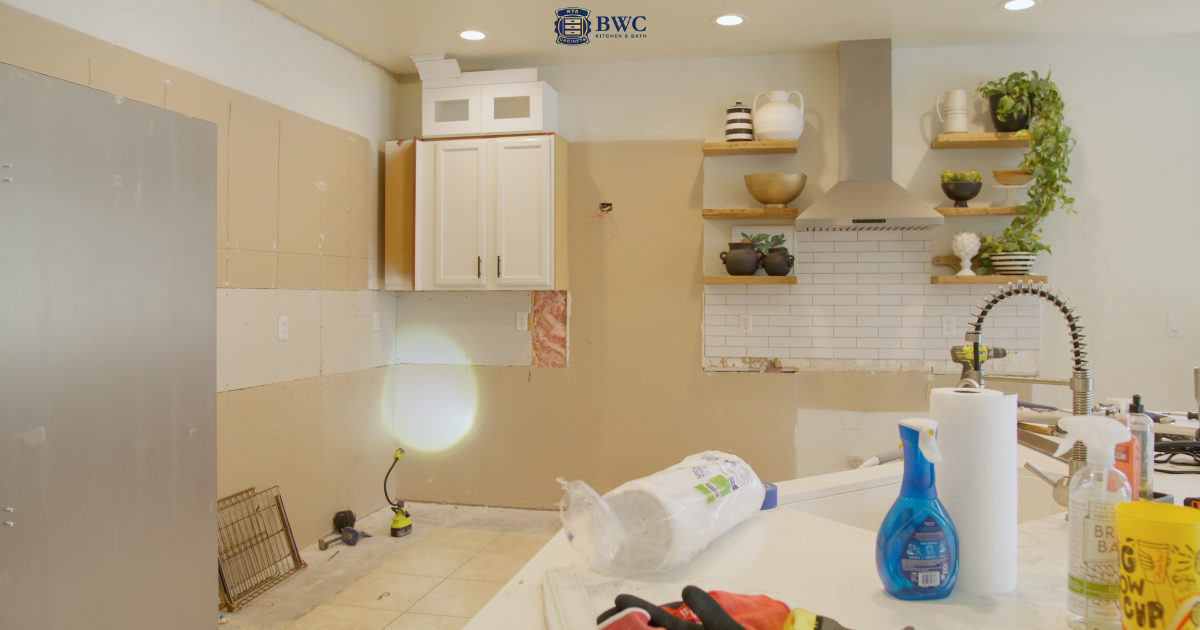
The process must start with a written Scope of Work. Before demolition day, create your kitchen remodel checklist based on structural reality:
Structural Assessment
- Load-Bearing Walls:
Are you removing a wall? You must check the attic or basement framing. If it carries a load, you need an LVL beam and an engineer’s stamp. - Soffits (Bulkheads):
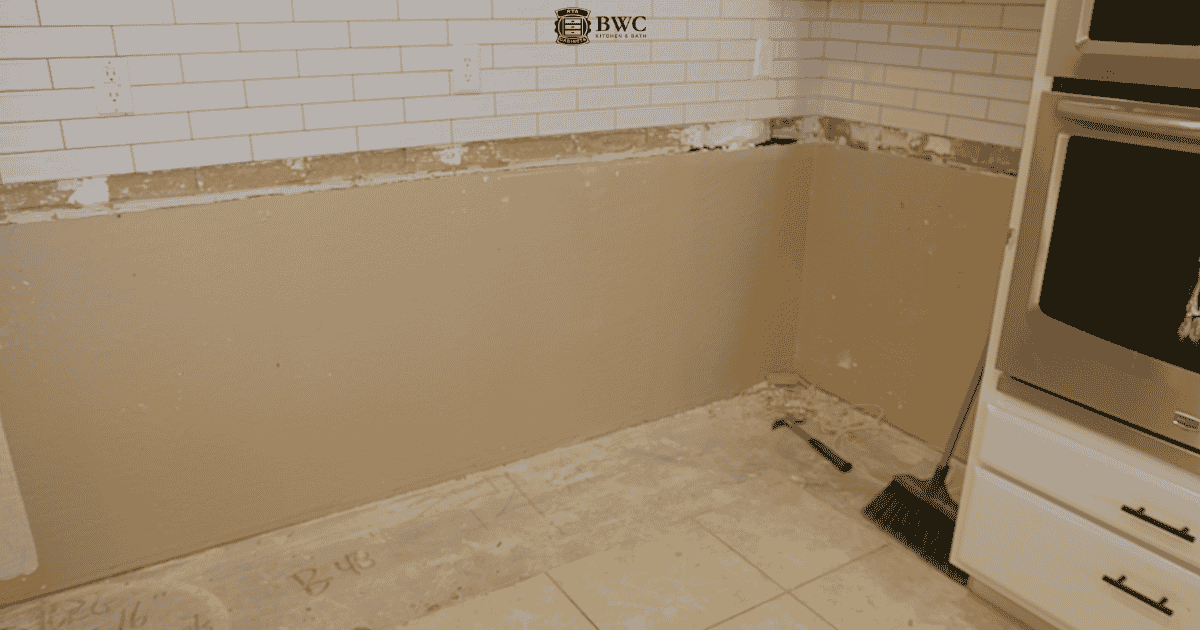
Do you have boxes hanging from the ceiling above your old cabinets? Determine if they contain pipes/ducts or if they are empty. This dictates if you can install full-height 42" wall cabinets. - Subfloor Condition:
Is the floor level? If you are switching from carpet/linoleum to tile, you may need to reinforce the subfloor to prevent deflection (cracking).
Mechanical Audit
- Electrical Panel:
Does your home have enough amperage (200 Amp service)? Modern codes require dedicated circuits for the fridge, microwave, dishwasher, and disposal. - Plumbing Locations:
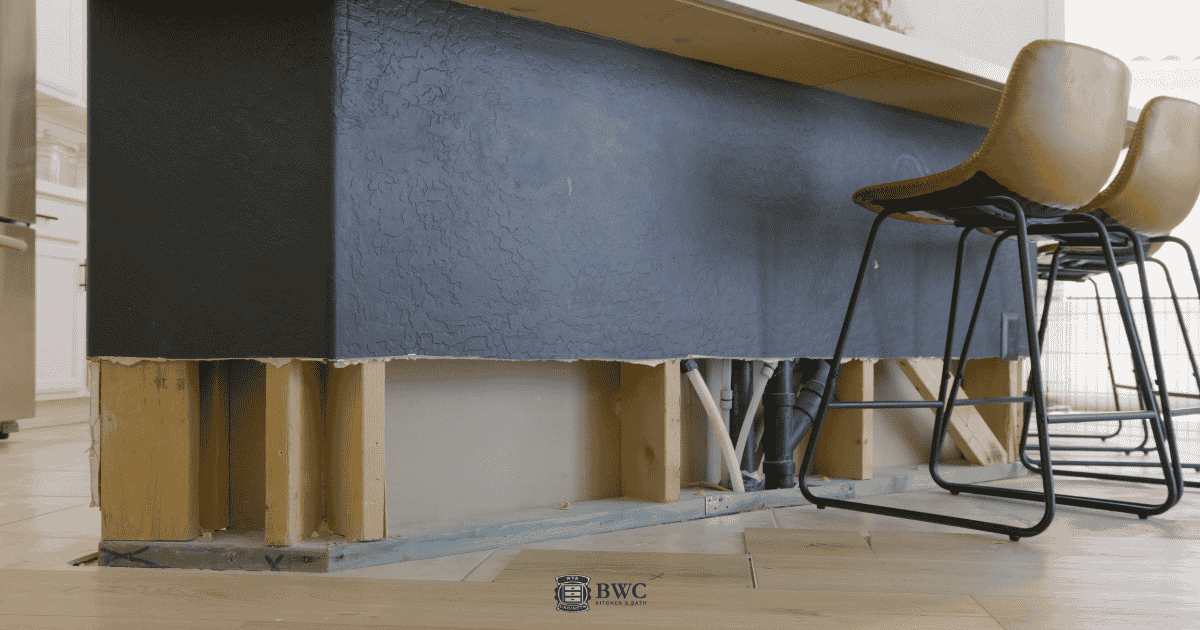
Moving a sink 3 feet along the same wall is cheap. Moving it to an island requires breaking concrete or floor joists, which is expensive. - Gas Line:
Are you switching from electric to gas cooking? You will need a professional to run a new line and pressure test it.
Logistics and Permits
- Permits:
Check with your municipality. Generally, structural changes and moving mechanical lines require permits. - The “Camp Kitchen":
You will be without a kitchen for 2-4 weeks. Where will you set up the microwave, coffee maker, and fridge during construction?
Step 2: Kitchen Remodel Cost and ROI
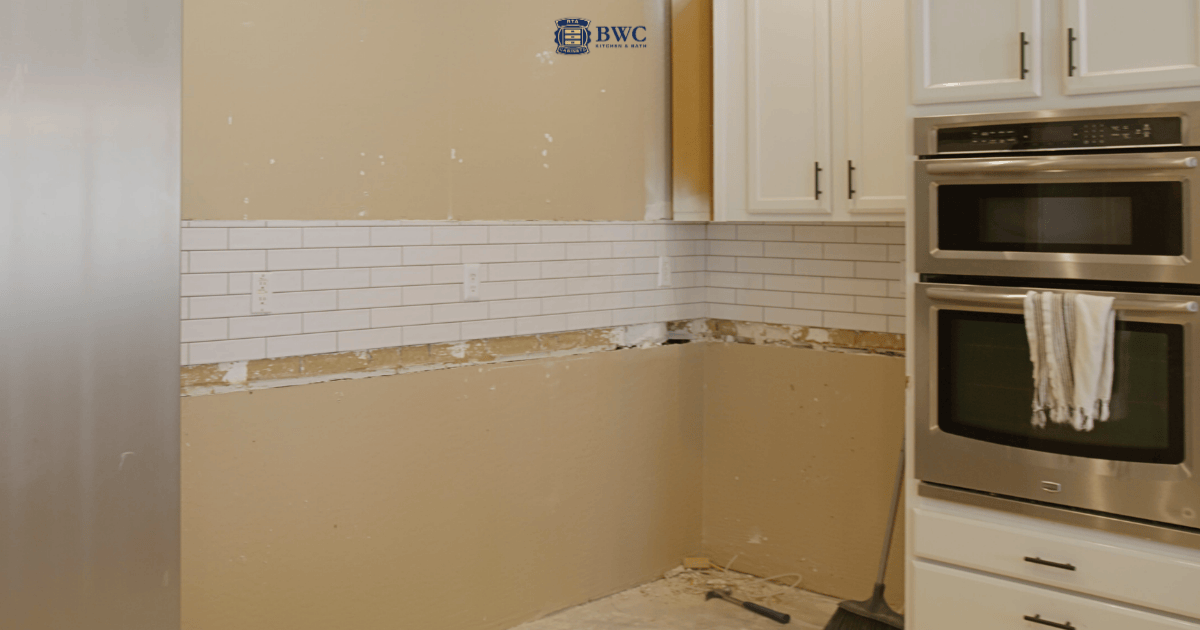
You must allocate your budget based on value. In a high-moisture, high-traffic environment like a kitchen, cheap materials often lead to expensive failures. A healthy professional budget focuses on long-term durability and resale appeal.
Budget Tip: Choosing high-quality RTA cabinets from Buy Wholesale Cabinets allows you to get a custom look on a standard budget.
Step 3: Choose Kitchen Layout and Select Materials
Critically important: You must select your cabinets and materials before you open the walls.
Kitchen cabinets remodel planning requires precise specifications. Your plumber cannot rough-in the drain arm without knowing if you bought a 30" or 36" sink base, and your electrician needs to know your specific appliance power requirements.
- The 3-Inch Rule:
Stock cabinets come in 3-inch increments (e.g., 24", 27", 30"). If your wall is 97", you need a Filler Strip. Don't assume a custom fit. - Lead Time Strategy (Why RTA Wins):
Custom cabinets often have 12-20 week lead times, leaving you without a kitchen for months. RTA cabinets typically ship in 7-10 business days. Order your cabinets as soon as your design is finalized so they are on-site and acclimating while you do the demolition.
Step 4: Start Demolition and Acclimatization
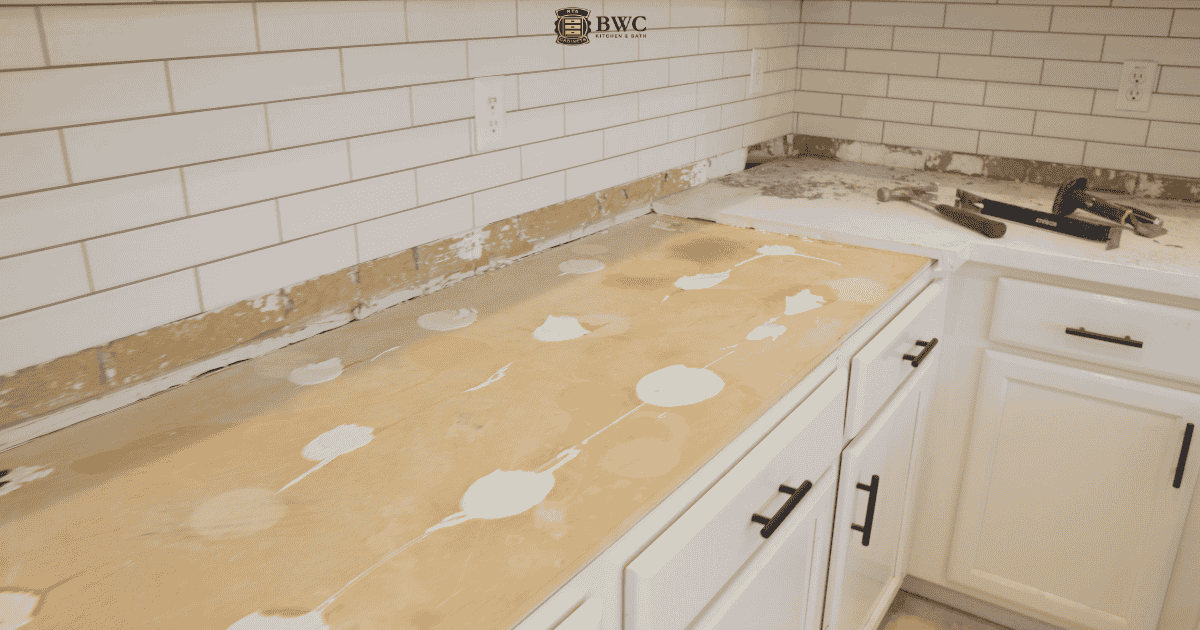
Once materials are confirmed, the work begins.
- Acclimatization (Crucial Step):
Do not install cabinets or wood flooring the day they arrive. Store them in the house (HVAC controlled environment) for 72 hours. Since RTA cabinets arrive in flat-pack boxes, they take up significantly less space than assembled units. Stack them neatly in an adjacent room to let the wood stabilize. - Dust Control:
Seal your HVAC cold air returns before swinging a hammer. Silica dust from drywall can destroy your furnace motor. - Utility Safety:
Always cap off plumbing lines and flip the breakers before removing old appliances.
Step 5: Complete Rough-In Work (Plumbing, Electrical, HVAC)
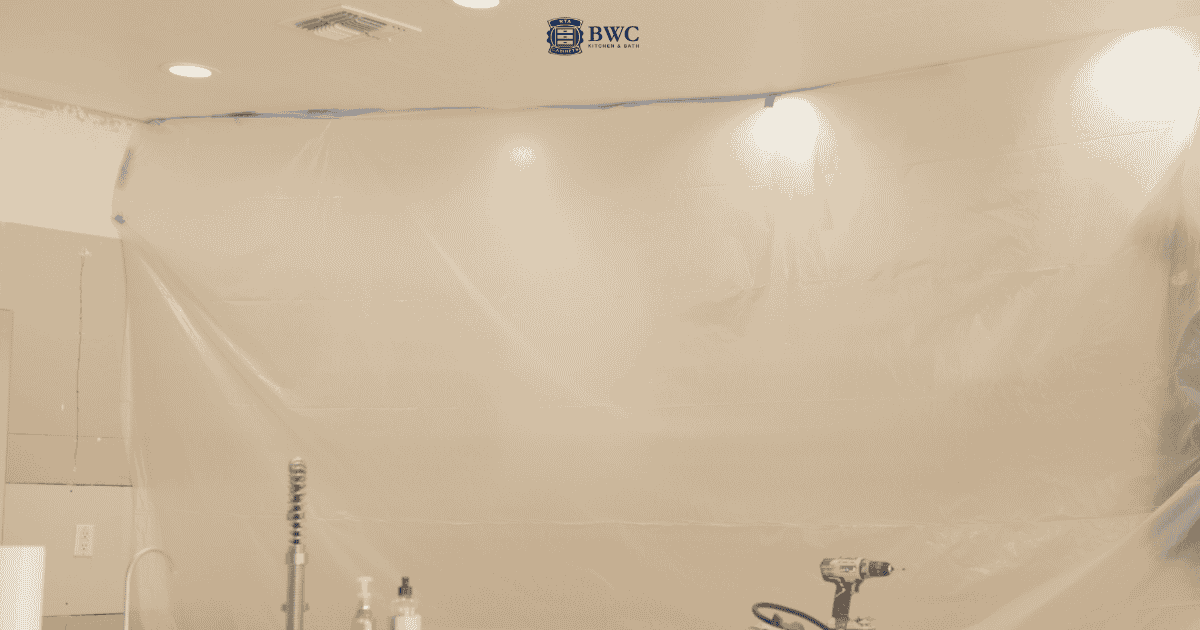
With walls open, utilities are upgraded to modern code.
- Electrical (NEC Code):
Modern kitchens typically require two dedicated 20-amp "small appliance" circuits for the countertop backsplash, plus dedicated lines for the fridge, dishwasher, and microwave. - Plumbing:
Replace old gate valves with modern Quarter-Turn Ball Valves. It costs $20 now but saves you from a flooded kitchen later. - HVAC:
If you are installing a high-CFM range hood, check if local code requires a "make-up air" system.
Step 6: Hang and Paint Drywall
Once municipal inspections are passed, walls are boarded up.
- Material Choice:
Use Moisture-Resistant Drywall (Purple Board) around the sink and dishwasher areas to prevent mold.
Pro Tip:
Paint the walls before cabinets go up. It is 10x faster to roll a wall than to meticulously "cut in" around brand new cabinetry.
Step 7: Install or Upgrade Lighting
Lighting supports safety and mood. A good lighting plan has three layers:
- Ambient: Recessed "can" lights for general illumination.
- Task: Under-cabinet LED strips to light up the countertop workspace.
- Accent: Pendants over the island.
Placement Strategy:
Recessed lights should be centered over the edge of the countertop (approx. 24-26" from the wall), not in the center of the aisle. This prevents your body from casting a shadow on your workspace while working in the kitchen.
Step 8: Lay Down Your New Flooring

The timing depends on the material.
- Tile/Hardwood: Install before cabinets. This ensures the dishwasher sits at the same height as the floor, allowing you to slide it out for future repairs.
- Floating Floors (LVP/Laminate): Install after cabinets.
Structural Warning:
Never install heavy islands on top of floating floors. The weight "pins" the floor down, preventing necessary expansion/contraction, which causes the planks to buckle and separate.
Step 9: Assembly and Installation of Kitchen Cabinets
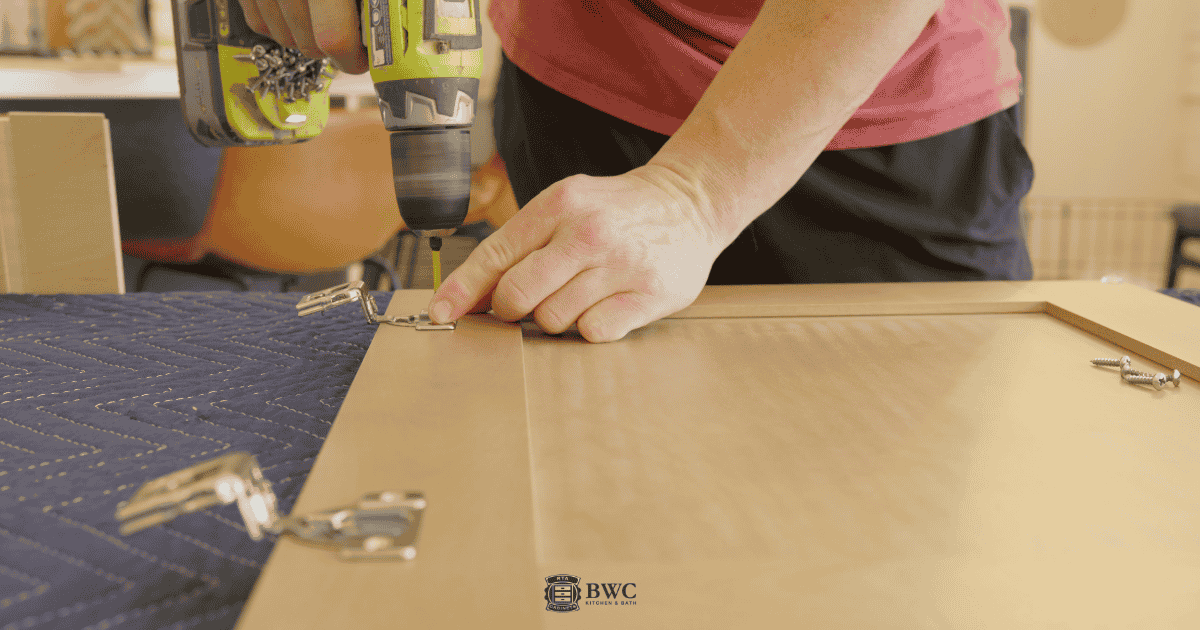
Start by laying out all your panels: two side panels, a back panel, a top rail, and a bottom panel. Take a minute to identify each piece before you start connecting anything.
First, slide the back panel into the side panel grooves, then insert the wooden dowels into the pre-drilled holes of the bottom panel and top rail for proper alignment.
Next, connect the side panels to the bottom and top sections by pressing them over the dowels and securing the cam locks with a screwdriver.
Finally, measure the cabinet diagonally from corner to corner to ensure the frame is square before fully tightening all the fasteners.
Step 10: Pick and Secure Countertops
With cabinets permanently installed, the stone fabricator creates a digital laser template.
- Seam Placement: Discuss exactly where the seams will be before they cut the stone. Avoid seams in the middle of islands or near sink cutouts.
- Deflection Check: If you have an island overhang greater than 10 inches (for stone), you must install hidden Steel Support Brackets inside the cabinet before the stone arrives.
Step 11: Hook Up Appliances and Plumbing
The sink, faucet, and appliances are connected.
- The Stress Test: Fill the sink basins completely and pull the plugs simultaneously. The pressure of a full drain tests the P-trap connections better than simply running the tap.
- Safety Check: Install the "Anti-Tip Bracket" on your freestanding range. This is a mandatory safety device.
Step 12: Finishing Touches
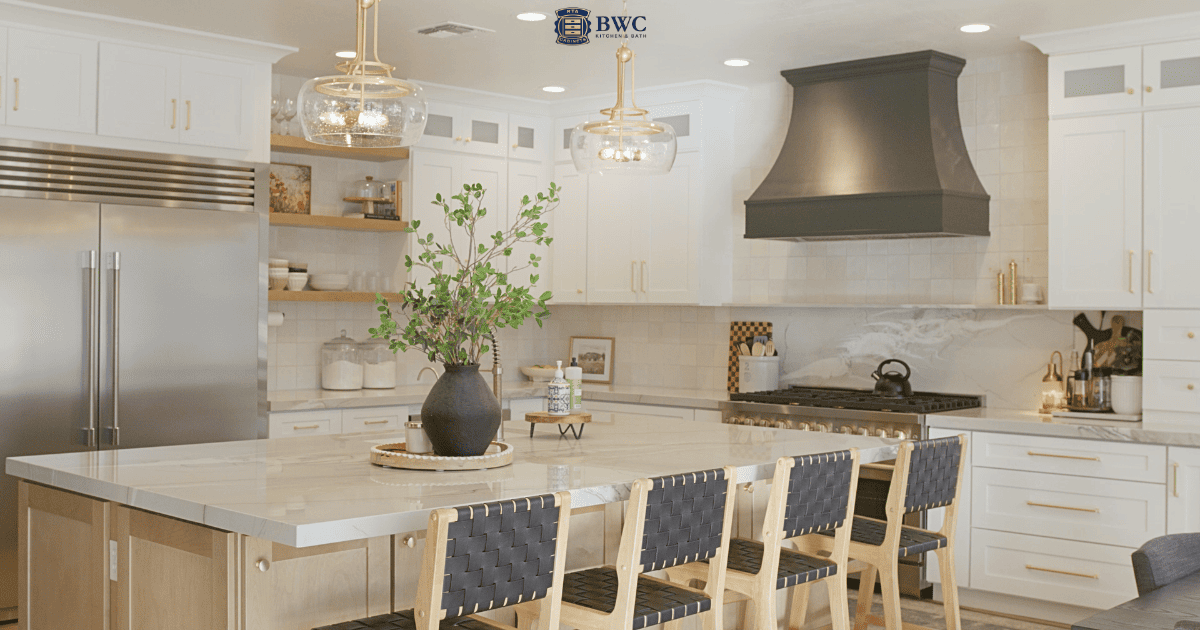
Install the "cabinet jewelry": handles, pulls, toe-kicks, and crown molding.
- Tip for Cabinet Door Adjustment: Do not adjust the cabinet door hinges yet. Load your cabinets with plates and food first. The weight will slightly settle the cabinets. Then adjust the doors for perfect alignment.
- Caulking: Use a high-quality silicone caulk where the backsplash meets the countertop to prevent water intrusion.
Step 13: The Final Kitchen Remodeling Walkthrough
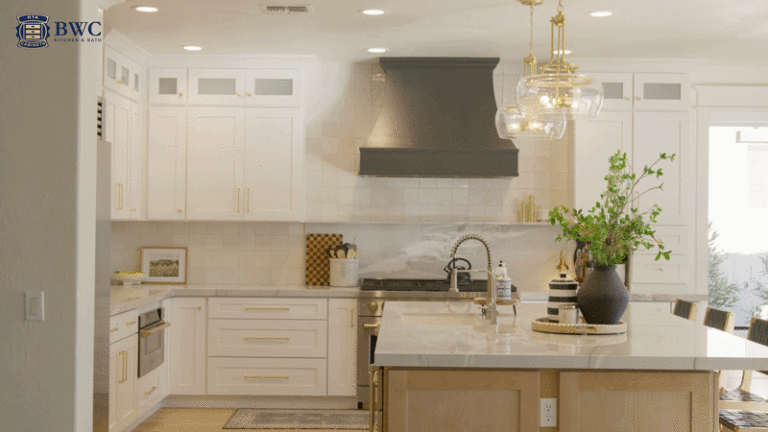
Test every drawer, outlet (with a tester), and faucet. Keep your Touch-Up Kit handy for the inevitable scuffs during the move-in process.
FAQ
How much does a typical kitchen remodel cost?
The average price of a kitchen remodel varies significantly by scope. A minor cosmetic update (new paint, hardware, and appliances) averages $12,000 – $20,000. However, a full kitchen remodel cost involving layout changes, wall removal, and plumbing relocation typically ranges from $35,000 to $65,000+.
How much does it cost to remodel a 10x10 kitchen using RTA cabinets?
For a standard 10×10 kitchen, a full set of RTA cabinets typically costs between $3,500 and $6,500. Since custom cabinetry often exceeds $15,000 just for the boxes, this saving is massive. Here is the typical breakdown:
- RTA Cabinets: $3,500 – $6,500
- Countertops (Quartz/Granite): $2,500 – $5,000
- Appliances (Mid-Range Package): $3,000 – $7,000
- Labor & Installation: $3,000 – $6,000
- Flooring & Paint: $2,000 – $4,000
How much does it cost to remodel a kitchen yourself (DIY)?
A purely DIY kitchen remodel can cost as little as $8,000 – $15,000. The drastic price drop comes from “sweat equity” – you are trading your weekends to save on skilled labor (which accounts for roughly 30% of a standard budget).
How much to remodel kitchen: Labor vs. Materials?
Labor typically accounts for 30-40% of the total cost of kitchen remodel, while materials (cabinets, appliances, stone) make up the remaining 60-70%. However, never DIY electrical panel work or gas line connections; the fire safety risk outweighs the savings.
How long does a full kitchen remodel take?
A full “gut” renovation typically takes 6 to 12 weeks from demolition to final walkthrough. However, the biggest variable is material lead time. Custom cabinets can delay a project by 3-4 months. Using quick-ship RTA cabinets allows you to compress this timeline significantly, as materials arrive in estimated 7-10 days, not months.
How can I maximize space in a small kitchen?
Focus on verticality and lighting. Instead of standard 30-inch wall cabinets, install 42-inch high wall cabinets that go all the way to the ceiling; this draws the eye up and maximizes storage. Additionally, choose a light cabinet finish (like White Shaker or Dove White) and implement the “layered lighting” plan mentioned in Step 7 to eliminate dark, shrinking corners.