How to Install Shaker Cabinets – A Beginner’s Guide
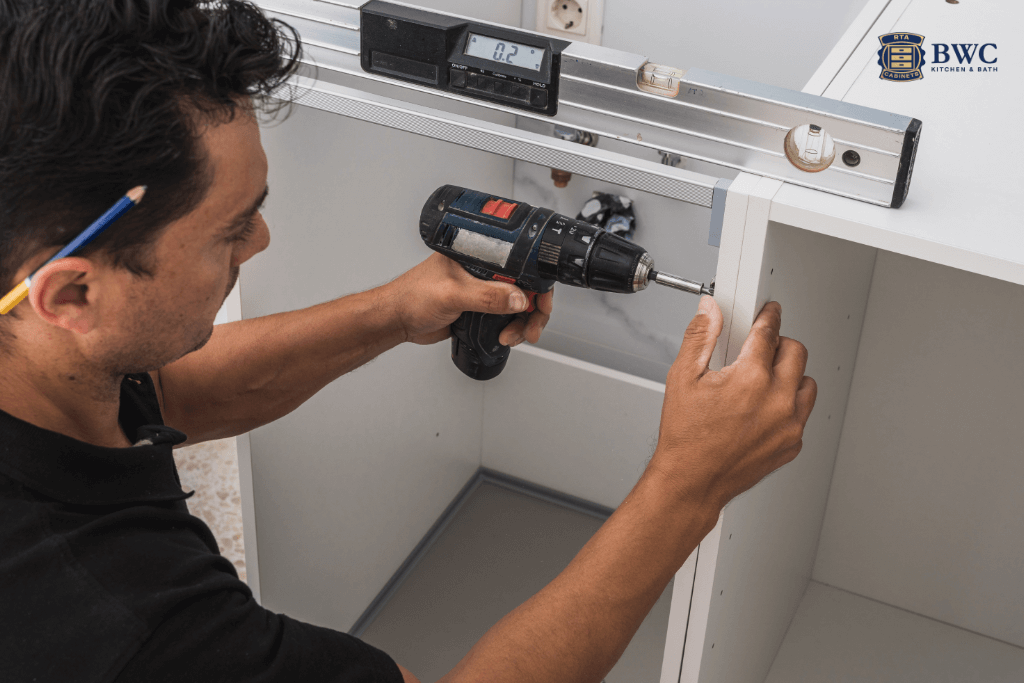
Table of content:
- Introduction
- What are Shaker cabinets?
- Preparation: Assembling your RTA cabinets
- How to Install Shaker Cabinets
- Conclusion
Introduction
Shaker cabinets from Buy Wholesale Cabinets are the most common choice when renovating a kitchen. They are known for their clean and simple lines, yet their ease of installation is rarely discussed. For those who decide to renovate their kitchen, their most frequently asked question is how to install Shaker cabinets.
As we mentioned, this is a straightforward and engaging process, and we can immediately assure you not to worry about it. All you need to do is follow the guidelines and instructions, and in the end, enjoy your new and unique kitchen!
Check out the wide range of RTA cabinets at Buy Wholesale Cabinets and choose kitchen cabinets in the color that suits you best. Within 7-10 business days, RTA cabinets will arrive at your doorstep, and the rest of the job is up to you. How to install Shaker cabinets is a question worth a million dollars for many, and Buy Wholesale Cabinets will answer it in this blog and provide you with straightforward guidelines.
What are Shaker cabinets?
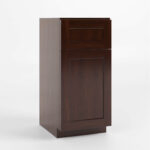
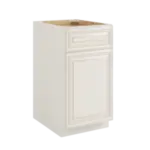
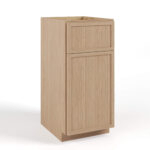
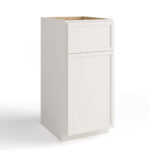
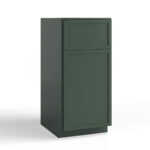
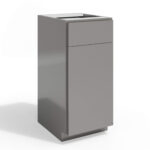
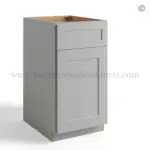
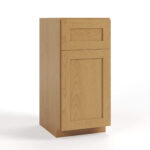
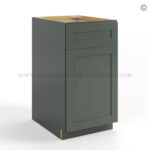
Before we delve into the topic of how to install Shaker cabinets, we first need to define what Shaker cabinets are. Shaker cabinets are kitchen cabinets that are popular across America, but their popularity has spread to other parts of the world as well. They are characterized by their minimalist design, which features a flat central panel with square edges and minimal detailing.
Their style originates from the Shaker community, known for its craftsmanship and simplicity. Today, Shaker cabinets are popular in both traditional and modern kitchens due to their classic and adaptable appearance.
You can find them in pre-assembled variations, but they often appear as ready-to-assemble (RTA) cabinets. RTA cabinets come in flat packages that need to be assembled before installation. This not only makes them more affordable but also easier to transport and handle.

Preparation: Assembling your RTA cabinets
If you are one of the many who have opted for RTA cabinets, you will first need to tackle this part of the job. Assembling RTA cabinets is not a difficult task; in fact, it can be quite enjoyable. If you follow the RTA cabinets guide, there will be no room for error during assembly.
Opening the package and checking the inventory
When the delivery arrives at your address, it’s crucial to immediately check the inventory to ensure you have all the necessary parts you ordered. Pay close attention to whether any parts are damaged or not. Buy Wholesale Cabinets accepts returns for damaged parts if noticed before return, please check Delivery & Return for detailed information.
Assembly of cabinets
Follow the manufacturer’s instructions carefully. Typically, you should:
- Set all parts and identify them according to the instructions.
- Secure side panels and bottom using screws or a locking mechanism.
- Attach the back panel and ensure it is square.
- Finally, install the doors and hardware, adjusting them for a snug fit.
If you’re assembling RTA cabinets for the first time, be patient and proceed slowly and carefully with each step. After reading the instructions and starting the assembly, you’ll get into a routine and find this task easier. Finally, ensure that each part of the cabinet is properly and securely tightened.
How to install Shaker cabinets
Now that all cabinets are assembled and ready, it’s time to install them. Carefully read our instructions, and you won’t have to worry anymore about how to install Shaker cabinets!
Tools you will need
One of the most important steps in the How to Install Shaker Cabinets guide is to prepare all the necessary tools for work. So, before you start installing Shaker cabinets, prepare the following tools:
- Level
- Drill/Screwdriver
- Tape measure
- Pencil
- Stud finder
- Clamps
- Screws (typically 6 cm for wall mounting)
- Washers (shims)
- Safety equipment (gloves, safety glasses)
Step-by-step installation process
- Preparation of the space
Ensure that your kitchen is ready for installation:
- Remove old cabinets and clean the space.
- Use a stud finder to locate wall studs. Mark their positions with a pencil.
- Measure and mark the layout for your new cabinets, ensuring everything is level and aligned.
2. Installation of upper cabinets
Begin with the installation of the upper cabinets:
- Draw a horizontal line on the wall where the bottom of the upper cabinets will be placed. This helps keep them level.
- Attach a support piece (temporary cleat) along this line to hold the cabinets in place while you fasten them.
- Align the first cabinet with the wall and screw into the studs.
- Connect the subsequent cabinets using clamps, then secure them to the wall. Ensure they are level and aligned.
3. Installation of lower cabinets
Once the upper cabinets are in place, move on to the lower cabinets:
- Place the first lower cabinet in the corner. Use shims to level it if necessary.
- Secure it to the wall studs through the back panel.
- Add the next cabinet, aligning it with the first one. Use clamps to hold them together and screws to secure them.
4. Finishing touches
Finally, it’s important to pay attention to the finishing touches to achieve a professional look and functionality in your kitchen. First, double-check to ensure that the kitchen cabinets are completely leveled and properly aligned. If you notice any irregularities, use shims to level them. This is crucial not only for aesthetics but also for functionality.
When installing Shaker cabinets, there may often be a small gap between cabinets. To address this, install filler strips along the edges of cabinets where they meet the wall or other cabinets.
Lastly, verify that the doors are securely and properly attached. This is also a good opportunity to add any additional details such as handles or other decorative elements that will enhance the appearance of your Shaker cabinets.
Conclusion
Installing Shaker cabinets can be a fun and fulfilling process that will transform your kitchen into a space with an elegant and functional look. By following this guide, even beginners can achieve a stunning kitchen upgrade with Shaker cabinets. So, gather your tools, set aside some time, and enjoy the journey to a beautifully finished kitchen.
Now that you know how to install Shaker cabinets, visit Buy Wholesale Cabinets shop and find a wide selection of RTA cabinets that will perfectly suit your space. If you need additional assistance or have any questions, feel free to contact us and our Buy Wholesale Cabinets team will respond promptly! Happy renovating!




 Sales:
  Customer Service: