How to Install Kitchen Cabinets Over Tile, Drywall, or Concrete Walls
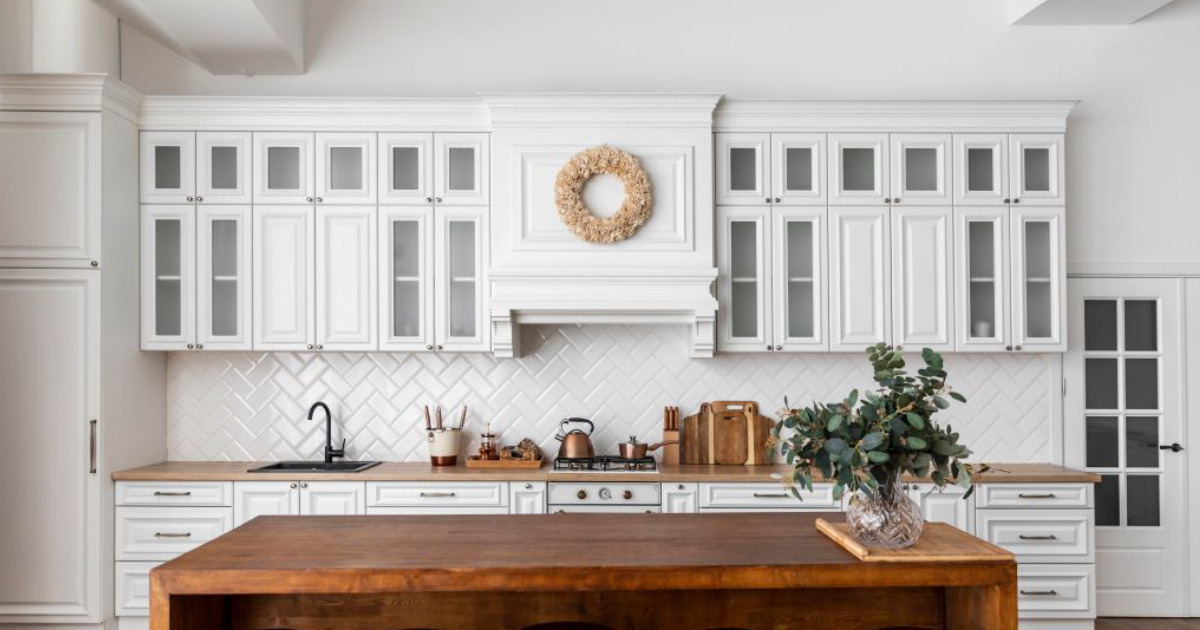
Table of Contents
Summary
You should be familiar with the installation process and safety precautions, as you need the right tools and skills to set up kitchen cabinets over tile, drywall, or concrete walls. To ensure a solid outcome, this comprehensive guide reviews the complete installation process.
Installing kitchen cabinets over different wall types, such as tile, drywall, or concrete, requires careful preparation and the right approach. Each surface presents unique challenges, from finding studs behind tile to using masonry anchors in concrete. Whether you’re remodeling or replacing cabinets, proper installation ensures safety, longevity, and visual alignment. Wall-mounted cabinets must be securely fastened, level, and able to bear significant weight. While the overall steps are similar across wall types, the tools and fasteners vary depending on the surface. With the right materials, accurate measurements, and smart planning, DIY cabinet installation is absolutely achievable, even over challenging surfaces. This guide walks you through the essentials, starting with what you’ll need before picking up a drill.
Tools and Materials Needed
To install cabinets over any wall type, you’ll need a few essential tools and materials. A stud finder is important for tile and drywall to locate secure mounting points, while a hammer drill is necessary for concrete walls. A level and tape measure help ensure accurate alignment, and a power drill with appropriate bits (wood or masonry) is key for driving screws. Shims assist in leveling uneven walls, and a temporary ledger board helps hold cabinets in place during installation. Use heavy-duty cabinet screws for wood studs or masonry anchors for concrete. Don’t forget basic supplies like a pencil for marking, safety gear such as goggles and gloves, and finishing materials like wood filler or caulk for a clean, professional result.
How to Install Kitchen Cabinets: Step-by-Step Guide
If you are doing cabinet installation for the first time, you might be intimidated. Moreover, if you are new to the toolbox, the process can quickly become overwhelming. However, it should not always be challenging. If you have a clear plan, the right tools, and patience, the task does not have to feel overwhelming. The secret, regardless of the type of wall you have, whether concrete or drywall, is how prepared and accurate your measurements are. To reduce complexity, we will outline each step for you.
1. Preparing the Kitchen Space
First, clean the space before you get the drill. After removing the old cabinets, be sure to patch the holes and smooth the wall with a soft cloth. Then, measure the space several times and calculate the dimensions. Depending on the type of wall you have, you should either mark the anchor points for a concrete wall or the stud locations on drywall. This way, the installation will be more accurate, safer, and done more quickly.
Here are some examples of how your wall-mount solution will look on concrete walls versus drywall:
| Feature | Concrete Wall Installation | Drywall Installation |
| Anchoring Method | Requires concrete screws or masonry anchors | Requires wall studs and wood screws |
| Drilling | Heavy-duty drilling | Standard pilot holes |
| Support | Furring strips or mounting rails provide support | Studs provide natural support |
| Complexity Level | Demands more skills, effort, and precision | Beginner-friendly |
| Ideal For | Older homes or industrial kitchens | Modern homes |
2.Inspect the New Cabinets
Before you lift a single tool, begin by thoroughly inspecting your new cabinets. Check for any signs of damage or defects that may have occurred during shipping or manufacturing. Scratches, dents, warped wood, or poor assembly can compromise the final look and durability. Make sure all components are present, including shelves, hardware, and fasteners. If you’ve bought pre-assembled units, double-check that all joints are tight. For flat-pack cabinets, lay out all parts and review the instructions. Also, verify that the measurements align with your kitchen layout so everything fits as planned. Catching issues early saves time and effort during installation.
3. Locate High Spots on the Floor
A perfectly level floor is rare, especially in older homes. Before installing base cabinets, use a long level or laser level to check for high spots along the floor where the cabinets will sit. Place a straightedge or level across the space and mark the highest point. This spot will serve as your baseline. Starting here allows you to shim other cabinets upward to achieve a level run. If you were to start at a low point instead, you’d end up needing to cut down cabinet bases, which is far more complex. Identifying high spots early keeps everything aligned and helps your countertops fit flush.
4. Mark the Top of the Base Cabinets
Once you’ve found the high spot on the floor, measure up 34.5 inches from that point. This is the standard height for base cabinets without countertops. Mark this line across the wall using a level to ensure it’s perfectly straight. This reference line is essential because it will guide the positioning of every base cabinet. Double-check this line several times and mark it clearly so you can see it throughout the install. If your kitchen includes appliances like a dishwasher, ensure this height allows for adequate clearance. With the line in place, you’re ready to move to the next stage.
5. Mark the Bottom of the Wall Cabinets
Now that your base cabinet line is marked, shift focus to the upper cabinets. Standard upper cabinets typically start 18 inches above the base cabinet tops. Add that to your 34.5-inch base height and mark a line at 52.5 inches from the floor. This is where the bottom of your wall cabinets should sit. Use a level to draw a clean, horizontal line along the wall. You’ll also want to mark a second line at the top of your wall cabinets based on their height, whether 30, 36, or 42 inches. These markings ensure your wall cabinets go up straight and level, giving your kitchen a neat and professional finish.
6. Locate Wall Studs
Wall cabinets must be anchored securely to wall studs. For drywall and tile, a stud finder is your best friend. Slowly move it along the wall, marking the center of each stud as you go. If you’re mounting over tile, you may need a deep-scanning stud finder that can detect through ceramic. Traditional studs won’t be present for concrete walls, so you’ll need to use wall anchors designed for masonry. However, if furring strips or framing is present behind the concrete, locate and use those. Mark every stud location vertically along the entire cabinet height so you can line up your screws precisely during mounting.
7. Select Suitable Hardware
The type of wall dictates what hardware you’ll use. For drywall and tile over studs, use cabinet screws at least 2.5 to 3 inches long to anchor securely into the wood. For concrete or masonry walls, you’ll need heavy-duty masonry anchors or Tapcon screws. Always match your drill bits to the hardware; masonry bits for concrete, wood bits for studs. Avoid using drywall anchors or standard nails; they won’t hold the weight of a cabinet. It’s worth investing in high-quality fasteners designed specifically for cabinetry. Secure mounting ensures not just safety but also that your cabinets remain stable and aligned over time.
8. Begin Corner Cabinet Installation
Start your cabinet installation at the corner of the kitchen. This helps everything else fall into place more easily and gives you a fixed reference point. Set the corner wall cabinet into position at the marked height. Use a temporary ledger board screwed into the wall at the bottom of the cabinet line to support its weight during installation. Align it so it’s level and plumb, then drive screws through the cabinet’s back and into the wall studs or anchors. Double-check alignment as you go, since a misaligned corner cabinet can throw off the entire run of cabinetry. Take your time with this first piece, as it sets the tone for the rest.
9.Attach Cabinets Together
Once the corner cabinet is secure, install the adjacent wall cabinets one by one. Before screwing them to the wall, clamp the face frames of the cabinets together tightly. Use cabinet connector screws to fasten them securely through the frame. Always drill pilot holes to prevent the wood from splitting. Make sure the front edges are flush and that both top and bottom lines are level. After joining them, mount the unit to the wall through the appropriate studs or anchors. Consistently checking for level and plumb will help avoid issues later, especially when adding trim or installing doors.
10. Install Remaining Cabinets
Continue working outward from the corner, repeating the same process for the rest of your wall and base cabinets. For base cabinets, set them into place one at a time, using shims where necessary to level them from front to back and side to side. Secure each base cabinet to the wall through the back and into the studs. Also, screw them together side-by-side through the face frames, just as you did with wall cabinets. As you go, frequently recheck alignment and adjust shims as needed. Even a slight tilt can affect how drawers and doors function, so precision matters here.
11. Adjust Drawers
With the main cabinet boxes installed, it’s time to fine-tune the internal components. Most modern kitchen cabinets come with adjustable drawers and soft-close hardware. Make sure each drawer slides smoothly and doesn’t tilt or bind. If the drawers are not aligned, use the built-in adjustment mechanisms on the slides to correct the positioning. Some drawer fronts can also be slightly repositioned by loosening the screws and shifting them into place. It’s a small detail, but it contributes to the overall clean and professional look of your kitchen. A well-installed drawer should glide effortlessly and sit flush with the cabinet face.
12. Drill Holes in the Cabinet Doors for Your Handles and Pulls
Now it’s time to add those finishing touches. Carefully measure and mark the placement for handles or knobs on your cabinet doors and drawers. Use a cabinet hardware jig to ensure uniform spacing and consistent height. Drill pilot holes using the appropriate drill bit size, making sure to avoid splintering the wood. Once the holes are drilled, install the hardware and tighten each screw snugly, but not overly tightly, to prevent damage. The handles and pulls not only provide functionality but also contribute significantly to your kitchen’s aesthetics, so take your time getting them right.
13. Repeat the Process for Base Cabinets
If you haven’t already installed the base cabinets, follow the same detailed procedure used for the wall cabinets. Start from the corner and move outward, aligning each cabinet with your level lines. Use shims where necessary to compensate for floor irregularities. Once level and flush, secure the cabinets to the wall and to each other. Check that all gaps are consistent and that the cabinets form a straight line, both in front and along the top.
A strong, level base will support your countertops correctly and give your kitchen a polished, balanced appearance. Be sure to double-check all measurements before drilling, especially around plumbing and electrical outlets. It’s a good idea to dry-fit each cabinet before final installation to ensure everything fits as expected. Take your time making adjustments, as a small error at this stage can create alignment problems later. Use cabinet clamps
14. Finish with Caulking or Trim
At this point, your cabinets should be safely installed. If there are any visible gaps between the cabinets and the walls or ceiling, seal them with a bead of caulk. If precision is essential, use a caulking gun and smooth the caulk with a finger or rag. If the cabinet sides are visible, apply trim or molding to finish the installation. to keep units tight and aligned while fastening them together. A meticulous approach here ensures doors and drawers operate smoothly and look uniform when finished.
Safety & Best Practices
Always prioritize safety during cabinet installation. Wear protective goggles, gloves, and, if drilling into concrete or tile, a dust mask. Use a stable ladder or step stool when installing upper cabinets to prevent falls. Work slowly and methodically, especially when measuring and drilling. If working over tile, apply minimal pressure to avoid cracking. When lifting heavy cabinets, get help if needed to prevent strain or injury.
Also, take time to clean up as you go; remember, debris on the floor can create tripping hazards. Clear walkways, secure tools when not in use, and avoid distractions like loud music or phone use. Check that all power tools are in good working condition before starting, and use the correct bits and attachments for your drill. Mark all stud locations carefully, and pre-drill holes to reduce splitting wood. Good preparation, a tidy work area, and proper safety gear make the job smoother and safer for everyone involved. Never rush—precision and patience are essential for both quality and safety.
Conclusion
Installing kitchen cabinets over tile, drywall, or concrete can be a highly rewarding project when done with care and precision. Each wall surface requires a specific approach, but the core principles of measuring accurately, securing properly, and checking for level remain the same. With the right tools and a well-organized plan, you can transform your kitchen space efficiently and safely. Whether you’re a first-time DIYer or a seasoned renovator, taking your time with each step ensures a beautiful and durable outcome. In the end, nothing beats the satisfaction of looking at your newly installed cabinets and knowing you did it yourself.
Maintenance Tips After Installation
Your job does not end once the installation is done. For the cabinet to maintain its shiny appeal and last longer than its promised lifespan, regular cleaning and maintenance are essential. Read on to find a few practical habits you should start adopting to avoid expensive remodel work.
Regular Cleaning
You should be able to clean the insides of the unit weekly with a damp, non-abrasive cloth and a mild, ammonia-free cleaner. Strong chemicals or abrasives can damage the finish, so make an exception in cases where you are cleaning greasy parts near the oven or soap scum near the sink. A solution of vinegar and warm water applied to greasy or stubbornly oily surfaces will deliver excellent results. It may sound quite time-consuming, as maintenance work often is. However, cleaning the insides regularly can curb the buildup, protect the shine, and prolong that look of freshly installed cabinets.
Check for Loose Hardware
The cabinet handles, knobs, and hinges may not function properly over time. Schedule regular visual inspection and tighten any loose parts. If you locate any damaged or worn components, replace them as soon as possible to avoid excess strain on the cabinet frame. By doing so, you ensure that there is no absence of function and that the daily use is safe for your cabinets.
Adjust Doors and Drawers
Humidity or rough use can quickly cause the parts to malfunction. The rail slider or hinge adjustment screws can be used to compensate for misalignment, where the cabinet doors do not align or the drawers stick. Making adjustments at regular intervals will ensure that the cabinets remain perfect without leaving gaps and avoid premature damage to hinges and tracks.
Inspect for Sag or Warping
It is relatively easy for the shelves to become tired and inclined due to their weight. Once again, inspection is the solution. Schedule a quarterly inspection of every cabinet section, noting any signs of sagging in the middle and at the door edges. If you discover it early enough, you can replace the board, shifting the alignment, and increasing support for heavy loads.
Protect from Moisture
Start wiping spills off immediately. Liquid and moisture can ruin the shine and sturdiness of your cabinet. Use an exhaust fan every time you cook. Stop hanging freshly washed kitchen towels on your cabinet doors if they are still damp or soaked. Seal the edge, particularly on cabinets near the dishwashers and sinks. That way, you control the moisture and prevent mold growth, swelling, and further damage.
Avoid Overloading
Your cabinet can store all your kitchen crockery. However, the overloading weight limit is another story. For heavy pots and a pantry on the shelf, you should not make a row so compact that the screw and joint of the cabinet loosen. Use the bottom cabinet to balance the weight and keep the heavier item in place. Roller ball casters will help prevent unnecessary wear and tear on the structural design, thereby extending its lifespan.
FAQs
Do I need to remove old cabinets before installing new ones?
Yes, it’s essential to remove the old cabinets before installing new ones. Leaving them in place could interfere with alignment and stability. Plus, you’ll need access to the wall surface to locate studs or install appropriate anchors.
What tools do I need to install kitchen cabinets?
Basic tools include a level, stud finder, tape measure, power drill, drill bits, screwdrivers, clamps, and shims. For concrete walls, a hammer drill and masonry bits are necessary. A cabinet jack or ledger board also helps support cabinets during installation.
Can I install cabinets by myself, or do I need a professional?
While professionals can speed up the process, many homeowners successfully install cabinets themselves. Just ensure you have the right tools, a detailed plan, and an extra pair of hands for lifting and leveling the units.
How do I level base cabinets on an uneven floor?
Use shims under the cabinet base to level it. Begin at the highest point of the floor and adjust each cabinet accordingly. Check with a level continuously and secure the cabinets once alignment is perfect.
What’s the best way to find studs in the wall?
A high-quality stud finder is the most reliable tool for this. Move it slowly across the wall surface and mark where it indicates the center of each stud. For tiled or thick walls, use a deep-scanning model.
How high should upper cabinets be installed?
The bottom of upper cabinets should be 18 inches above the countertop. This standard height balances practicality and aesthetics, giving enough space for appliances and workspace without feeling cramped.
How much gap should be left between the cabinets and the ceiling?
This depends on your cabinet height and ceiling height. Standard wall cabinets often leave a 12- to 24-inch gap from an 8-foot ceiling. Taller cabinets may reach the ceiling, providing extra storage but requiring precise measuring during installation.

 Sales:
  Customer Service: