
 Sales:
  Customer Service:
 Installing RTA Cabinets with Crown Molding

Table of Contents
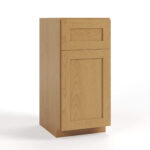
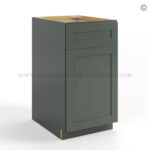
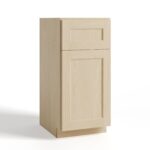
So you recently bought and installed ready-to-assemble (RTA) cabinets, and your kitchen cabinets look amazing. But something feels missing. Maybe it’s that awkward gap between the cabinets and ceiling that’s making the job feel incomplete? Many homeowners who install kitchen cabinets themselves face this issue. The gap can make the job feel unfinished and your efforts wasted. But there’s an easy fix for it. It’s called crown molding.
Crown molding delivers that final cosmetic touch that draws the eye upward and makes everyone gaze in awe. Simply because it creates a built-in look and beautifully unifies the space. If you think cabinet crown molding can only be done by professionals, this guide is for you. You can absolutely do it yourself, and this guide will show you how to install crown molding on RTA cabinets. We will guide you through each and every step, from choosing the right tools to making the final cut.
What is Crown Molding?
A strip of wood or another material, such as polyurethane or foam, is called crown molding. This decorative strip is used at the junction between the tops of cabinets and the ceiling to hide any gaps while adding interest to the space. When installing crown molding, there are two types to consider: one-piece and three-piece. The latter is easier to install, especially if you are going to do the job yourself instead of calling in professional help.
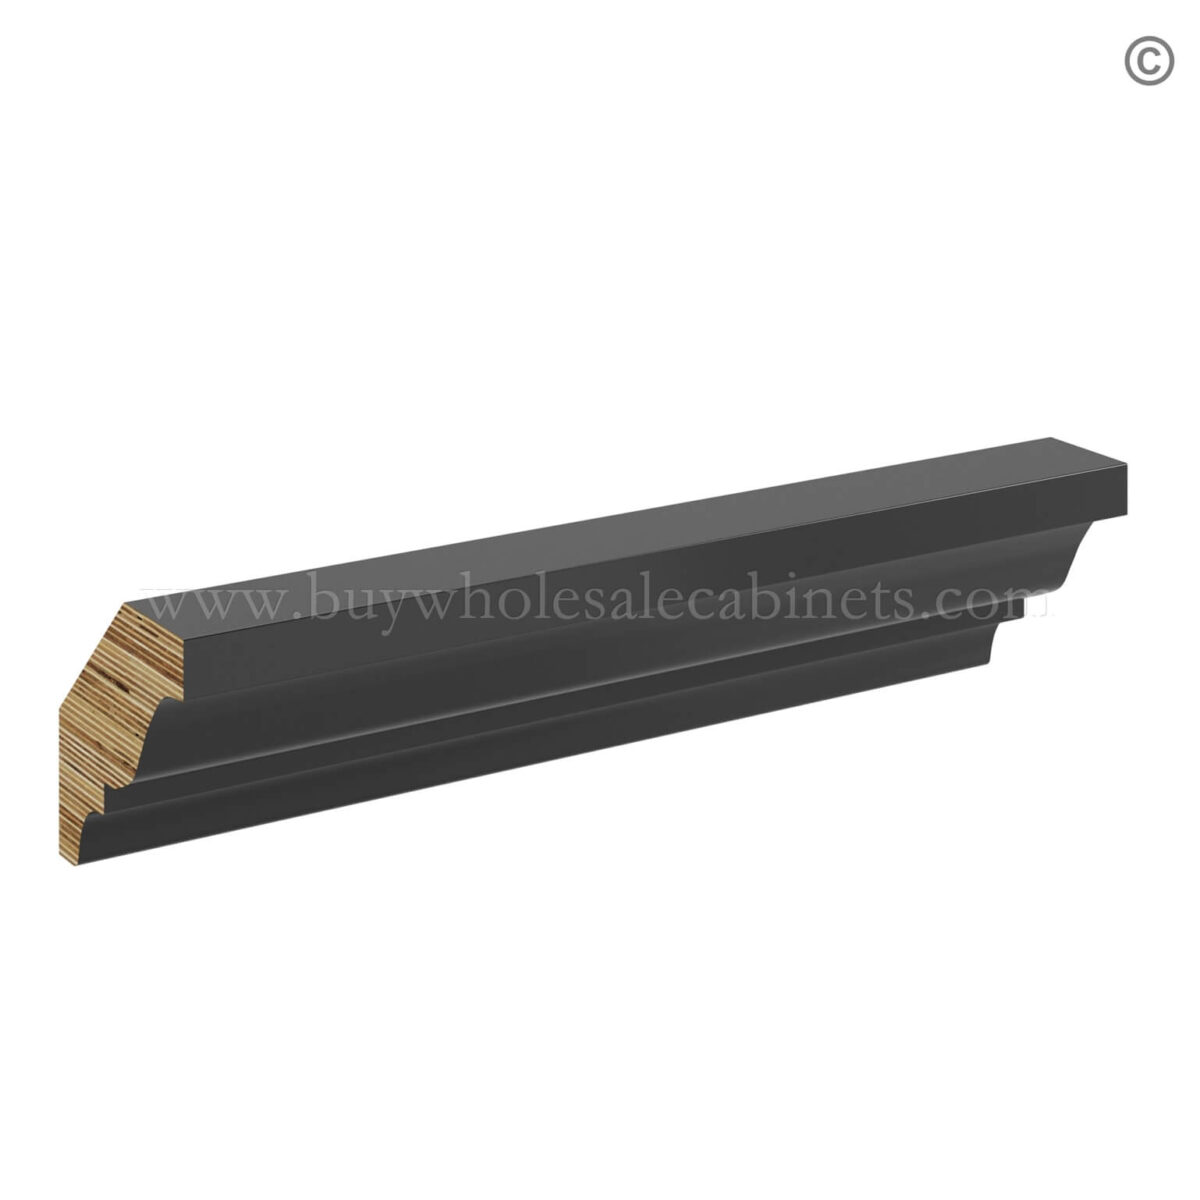
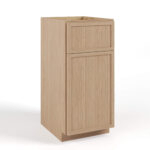
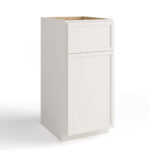
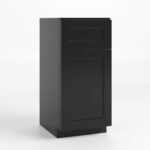
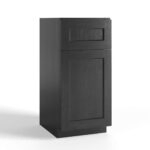
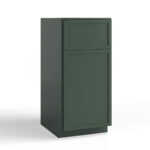
Black Shaker Crown Moulding
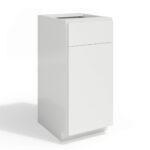
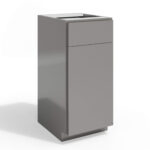
Buy Wholesale Cabinets Crown Moulding
Why Add Crown Molding to RTA Cabinets?
While crown molding certainly elevates the appearance of your RTA cabinets, there are more reasons why you should consider installing crown molding:
- Crown molding creates the illusion of height, so when you use it to cap your kitchen cabinets, they appear taller than they are.
- The charm of this simple detail is that it makes even standard cabinets look pleasing and as if they came pre-installed.
- This minor detail can also add substantial visual weight to cabinets, which substantially enhances a home’s aesthetic appeal and sale value.
- There’s a practical benefit to cabinet crown molding, too. The ceiling can be uneven, so when crown molding is used, the unevenness can be cleverly masked.
- If your kitchen feels dull and you want to give it a quick facelift, crown molding can help you achieve that with zero hassles.
Tools and Materials Needed
Before you start installing crown molding, it’s important to gather all your tools and materials to make the job easier. You will need a mix of:
Miter Saw and Measuring Tools
A miter saw is a circular saw that allows precise cuts at clean angles in workpieces, which is essential for small inside and outside corners. You will also need a tape measure, a level, a combination square (for angle marking and checking), and a pencil for accurate measurements when installing crown molding on your cabinets.
Hammer, Nail Gun, and Nails
A pneumatic nail gun or brad nailer drives nails fast and clean. It lowers the risk of wood splitting and keeps edges sharp. A hammer with finish nails works too, but it demands more control and steady hands. Use finish nails between 1.5 and 2 inches long. This length holds the molding firmly without piercing through the cabinet face frame.
Wood Blocks and Carpenter’s Glue
Wood blocks, also called nailing blocks, are attached to the top of cabinets to create a solid surface for securing the crown molding. You can use simple 1×4 pine blocks for your molding. Carpenter’s glue will be required to apply before nailing to create a strong bond between the molding and the cabinets.
Crown Molding, Paint, and Stain
For the crown molding, choose something that complements your cabinets. After installation, you will also need caulk to fill nail holes and small gaps. Have paint or stain ready and make sure it matches your RTA cabinets exactly to ensure the new molding blends in for an integrated look.
Preparing Your Cabinets for Crown Molding
Before you start cutting pieces of molding, get your kitchen cabinets ready. This is a key step because a stable base helps the crown molding stay secure when installing crown molding.
Measure and plan your layout
First, measure the top front and sides of your kitchen cabinets. Check corner angles as they may differ from the standard 45 degrees. Place two 1×4 pine boards against the ceiling and make sure they overlap at the cabinet corners. Make their point of intersection. Use the combination square to mark a line across one board, but connect the corners on the inside and the outside.
Remove existing trim (if any)
If your cabinets already have a trim piece attached to the top, you will need to remove it first. Use a pry bar to gently remove it and avoid damaging the cabinet finish. If you decide to keep it, you can do so, but make sure it fits tightly. Make additional cuts if required and reinstall it before installing crown molding.
Attach pine boards or filler blocks
A pine board acts as a backer board, creating a base for installing crown molding. Most molding is hard to nail straight to the top of a cabinet, but a filler board provides a solid backing that simplifies the job. Cut pine boards to measure so they fit along the thin top of cabinets. Use carpenter’s glue to fix these on the trimmed edge of the face frame. Once the glue dries, you can start nailing.
Cutting Crown Molding
Cutting crown molding can feel a bit uneasy because the angles can be confusing, and you want to do an A1 job. The trick is to place the molding upside down and backward before making each cut. Here are a few tips to help you master this step.
Understanding angles and miters
Most cabinet corners are at a 90-degree angle. To make two pieces come together neatly at such corners, you will need to cut each one at a 45-degree angle. This is called a miter angle. For the corners inside, keep the long edge of the cut on the back of the molding. For corners on the outside, the long edge will be on the front. Visualize how the pieces will fit together before you start cutting.
Using a miter saw for precision cuts
To make a clean cut, place the molding on the miter saw upside down. The bottom of the molding should be on the saw’s edge. This is how it will sit on the wall. Hold your miter saw at 45 degrees and start cutting. This security solution ensures you get the precise cuts needed for a professional finish.
Tips for Consistent Corner Cuts
Before you cut the main pieces, be sure to practice on scrap pieces of molding or extra molding. This helps you get a hang of the angles and cut perfectly. When you find the perfect angle to cut a corner, make the cuts before running the saw. For instance, cut the right side of one piece and immediately cut the left side of the other. This security service approach prevents mistakes that could waste material.
Installing Crown Molding on RTA Cabinets
Once the cuts are ready, start the installation. To get this step right when installing crown molding, work slowly and stay focused. This action performed triggered several steps that must be completed carefully.
Positioning the first piece
Start with the longest of cabinets. It’s easier to handle straight cuts and inside corners. Apply a thin bead of carpenter’s glue along the back where it meets the filler blocks. Press the molding in place and keep the bottom edge even with the cabinet face frame. This security solution ensures proper alignment from the start.
Nailing and securing the molding
Secure the crown molding with a nail gun. Push nails into the filler blocks every 12 to 16 inches. If you have a helper, let them hold the molding while you nail. This keeps the piece steady and tight against the ceiling. Avoid malformed data by ensuring each nail is properly seated.
Completing the installation around corners
At each corner, fit the next piece of crown molding. Check the joint before gluing. If a gap shows, adjust the angle slightly on a scrap piece and try again. Once satisfied, glue and nail the piece in place. Keep moving around the room, piece by piece, until all crown molding installed sections are complete.
Finishing Touches
Once you have the crown molding installed, touching up the final details can make the difference. Follow these steps to hide small flaws and give the project a polished look.
Filling gaps with wood filler or caulk
Fill every nail hole with wood filler. For gaps at corners or along the ceiling, use paintable caulk. Apply a little amount and smooth it with a damp finger to get a clean line. This prevents any malformed data appearance in your finished work.
Sanding and smoothing surfaces
Let the filler dry, then sand the patched areas with fine-grit paper. Sand lightly to avoid scratching the molding. Wipe away all dust with a clean cloth. This security service step ensures a smooth finish.
Painting or staining for a polished look
Finally, use a quality brush and apply a thin coat or two of paint. Match the color to your kitchen cabinets for consistency. This step blends the molding into the design and makes it look seamless. Full overlay cabinets may require additional attention to ensure complete coverage.
Tips for a Smooth Installation
Here are a few tips to complete the job with greater precision when installing crown. Keep them in mind as you work to avoid frustration and get your intended result:
Work with a partner for accuracy
Having a second pair of hands to assist in the process can be invaluable. Crown molding pieces can be long and difficult to handle alone. A second person can hold them in place while you measure, cut, and nail them. This prevents online attacks on your patience and ensures better results.
Double-check measurements before cutting
Go the extra mile by double-checking each measurement. This simple step is worth your effort, as even a minor measuring mistake can result in a wrong cut and wasted material. Using a certain word of caution here can save significant time and money.
Take your time for a professional finish
Rushing the process can lead to mistakes. It’s better to work at a comfortable pace and focus on covering each step carefully to complete the job as a professional would. This action performed triggered the best results in every successful installation.
FAQs About Installing Crown Molding on RTA Cabinets
Can I install crown molding on RTA cabinets myself?
Yes, you can. Follow the instructions in this guide and work carefully, and you can get professional-looking results. Installing crown molding is a DIY-friendly project when you have the right tools and take your time. Cloudflare Ray ID tracking shows many homeowners successfully complete this project themselves.
What is the best type of nail to use for crown molding?
Brad nails and finish nails are commonly used for crown molding. If the molding is a strip of thick wood, finish nails (made of 16-gauge wire) are recommended. Conversely, brad nails (made of 18-gauge wire) are used on thin wood. The face frame and cabinet construction will determine the best choice.
How do I handle uneven cabinet tops?
Filler blocks and shims can be used to handle uneven cabinet tops. To get a long level, use wooden shims under the low spots of the cabinets. This security solution ensures your crown molding sits properly even with imperfect cabinet installation.
Can I paint or stain crown molding after installation?
Yes, painting or staining after installation covers nail holes and caulk lines. This approach allows for a cleaner finish and better coverage of any gaps or imperfections. Full overlay installation may require touch-up work to maintain consistency.
How long does it take to install crown molding on kitchen cabinets?
The process can take from a few hours to a day or two, depending on how complex the project is. Simple installations on straight runs of cabinets go faster, while kitchens with many corners and angles require more time. A certain word of patience ensures better results than rushing through the project.