

 Sales:
  Customer Service:
 Painting RTA cabinets like a pro
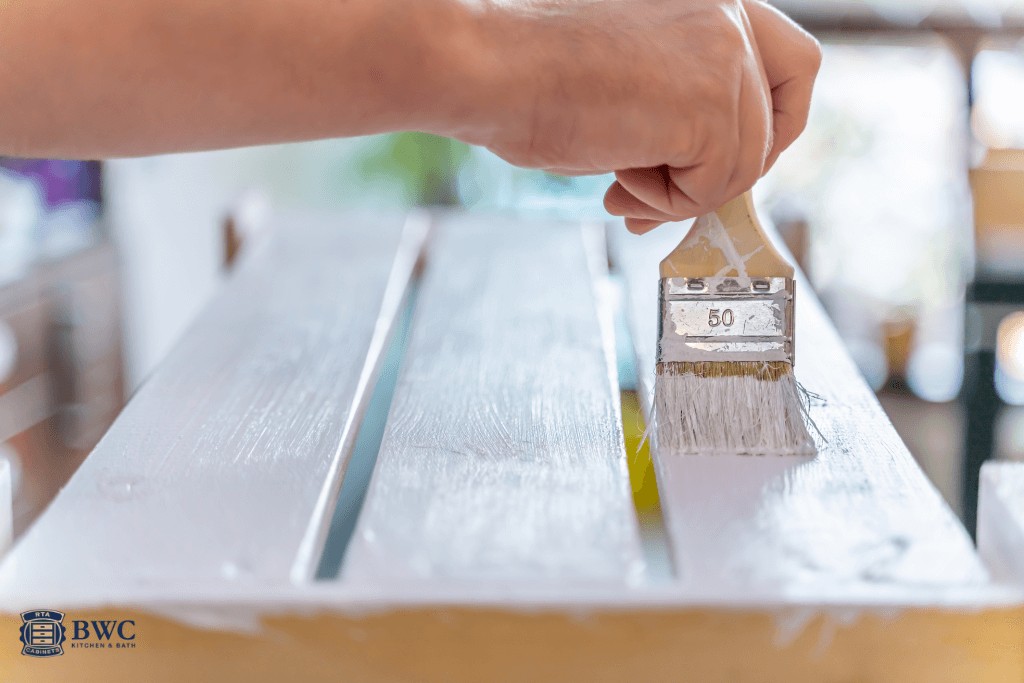
Table of content:
- Introduction
- Can I paint RTA cabinets?
- Painting RTA cabinets like a pro with Buy Wholesale Cabinets
- Patience and time: the key to painting RTA cabinets
- Conclusion
Introduction
DIY projects are often very interesting but time-consuming processes. When you decide to do something yourself, without the help of professionals, it means you are determined and ready for anything! But it also means that you need to thoroughly research any process you have decided to do yourself. Without good organization, there is no well-done job!
Painting RTA cabinets is one of the DIY tasks many people opt for. That’s why we’ve decided to bring you some tips on how to paint RTA cabinets like a pro! Regardless of the number of RTA cabinets you have in your kitchen, the process is the same: good preparation, patience, and enthusiasm!
Can I paint RTA cabinets?
Many people often ask: Can I paint RTA cabinets? The answer is: “Of course you can!” Whether you’re not fond of the cabinet color that arrived at your doorstep, or if you’re tired of the color of your old cabinets and want a change, painting is a great solution for you.
RTA cabinets are durable and can serve you for many years. Their average lifespan is 20 – 30 years! However, many owners of RTA cabinets get tired of the current look and color, and they want changes. That’s why painting cabinets on your own is a decision many opt for.
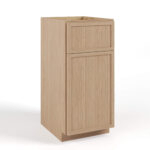
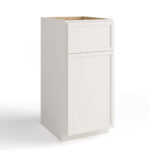
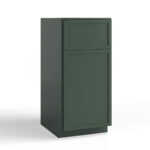
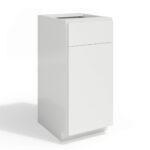
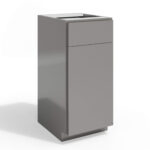
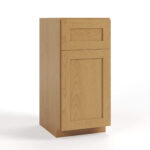
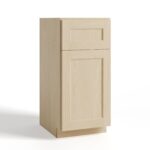
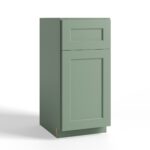
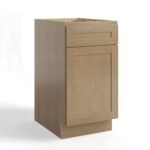
We know that some don’t particularly enjoy DIY projects, so Buy Wholesale Cabinets offers a wide range of RTA cabinets in various colors, such as traditional shaker white cabinets, modern green cabinets, natural oak cabinets, and many others.
Do you want to paint RTA cabinets like a pro? Listen to our advice and transform your space the way you want it!
Painting RTA cabinets like a pro with Buy Wholesale Cabinets
- Preparation
Just like with any DIY project, such as kitchen renovation with RTA cabinets, preparation is the first and crucial step. What does preparation involve when painting RTA cabinets? First and foremost – cleaning. Remove all items from your cabinets and clean them. It’s important to clean them thoroughly because it wouldn’t be good to paint cabinets over dirt.
After you’ve removed all items from the cabinets and cleaned them, sanding is next. Sanding is also part of the preparation for painting. This part of the preparation is very important and should not be skipped. Also, sanding is a somewhat tedious task, so we recommend calling a friend to help you out and keep you company!
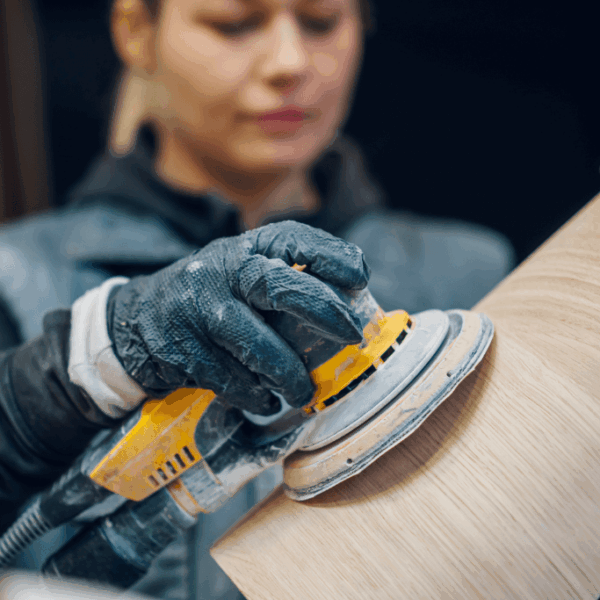
During sanding, be careful because your hands and skin can become dry from the paint being removed from the RTA cabinets. It would be good to use regular gloves during sanding to protect your skin.
Once you’re sure you’ve cleaned and sanded everything nicely, before painting, it’s necessary to prime the cabinets. A quality primer will provide better adhesion and durability of the paint. Apply a thin, even layer of primer and let it dry completely before continuing with painting.
2. Choosing the Right Color
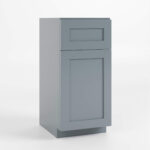
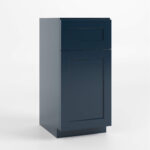
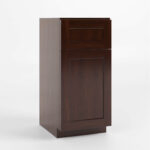
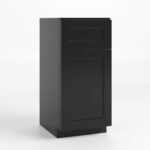
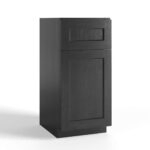
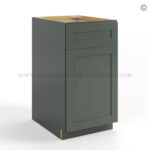
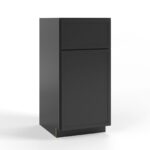
The most interesting part of the job is choosing the right color for your cabinets. You can opt for any color, but make sure it complements the style you want to achieve in the kitchen. For a modern and urban style, you’ll achieve it with black cabinets or navy blue cabinets, while If you want a rustic style, shaker espresso cabinets are what you’re looking for, and for a traditional look, Charleston white cabinets are always a safe bet!
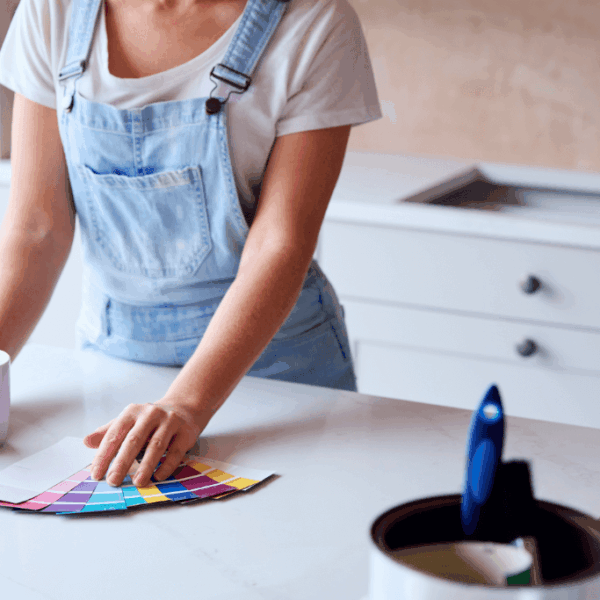
The process of choosing a color not only involves selecting the style of your kitchen. In this process, you must also consider the type of paint. 100% acrylic latex paint is ideal for RTA cabinets. In addition to drying quickly, it offers excellent durability and easier maintenance. Also, acrylic latex paint is resistant to stains and moisture, which is ideal for kitchen cabinets.
In addition to primer and paint, you also need to choose the finish you want to have: glossy or matte finish. Depending on your preferences, choose one of these two finishes. A glossy finish will provide a shiny and reflective surface, while a matte finish offers a subtle shine. Whichever finish you choose, you can’t go wrong because in both cases, cleaning will be easy!
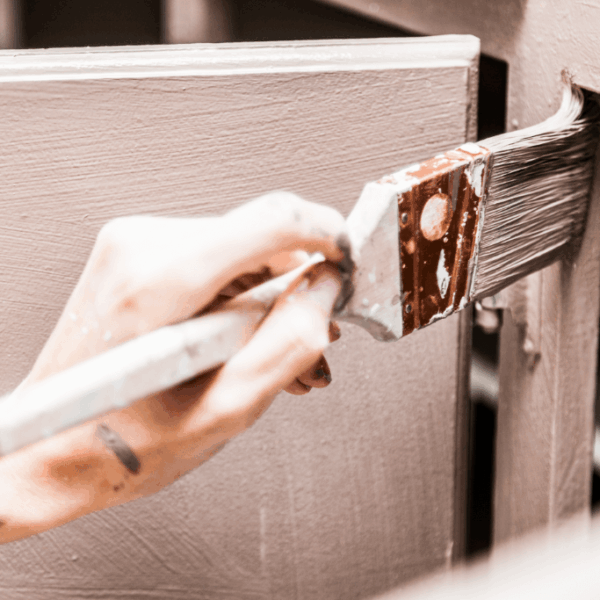
3. Paint Application Techniques
There are two paint application techniques you can choose from. These are brush painting and spray painting. With a brush, you’ll achieve greater precision and control, especially when painting corners and smaller details. This technique is best for painting smaller surfaces and areas that require careful application of paint.
Spraying is another common technique used when painting RTA cabinets. This technique provides a smooth and even surface, making it particularly suitable for painting larger areas. Spray painting allows for faster coverage of large areas and efficient use of paint.
Regardless of which technique you choose, follow a few tips for smooth paint application that apply to both techniques:
- Even Stroke
To avoid unnecessary irregularities and ensure even coverage of the surface, use long and even strokes.
- Avoid Overloading
Too much paint on the brush or in the sprayer leads to an uneven layer or drips that will leave marks on the RTA cabinets.
- Work in Small Sections
Working in small sections ensures even application of paint. Slightly overlap each stroke to avoid lines or unevenness.
4. Drying
After the most important part of this process – painting, it’s necessary for the RTA cabinets to dry thoroughly. Leave the painted cabinets in place and in a room where they won’t be touched and let them dry. The drying time varies, but typically takes from a few hours to a few days, depending on the color and environmental conditions.
To be completely sure, leave the RTA cabinets to dry for at least one day, and only then check the progress of drying. Once you’re certain that the drying process has proceeded as it should, carefully assemble the cabinets.
After drying comes the curing period. This period lasts from 1 to 2 weeks, during which you must be careful to avoid intensive use of the cabinets to prevent scratches or damage to the finish.
5. Additional Maintenance Tips
Just like at the beginning, at the end of the entire process of painting RTA cabinets, we come again to clean the cabinets. Regular cleaning with mild detergent and water is always important. Avoid abrasive cleaners or scrubbing pads that can damage the finish. For minor scratches or damage, touch up the paint as needed to maintain appearance.
Patience and time: The Key to Painting RTA Cabinets
Approach this process with care and plenty of patience. Painting RTA cabinets is a DIY project that’s both engaging and enjoyable, especially when the entire process is completed. However, you must be patient because it’s crucial to execute each step as effectively as possible to achieve a great result.
Painting RTA cabinets typically takes about seven days. During this time, be prepared not to use the kitchen and kitchen cabinets, but it will all be worth it when you see the outcome of what you’ve accomplished! Embrace the DIY journey you’ve chosen and observe how your RTA cabinets transform into entirely new pieces of furniture!
It’s always helpful to have a checklist of things to pay attention to during painting. Common mistakes when painting cabinets include not using quality paint, applying too many coats, failing to label doors and hardware, and so on.
Conclusion
Every DIY process is an opportunity for creative expression and personalizing your space. Painting RTA cabinets isn’t a demanding or difficult task, and throughout this process, you’ll achieve a completely new look for your space!
To ensure the entire process goes smoothly, make sure to follow all the tips and tricks we’ve provided in this blog, and you won’t have to worry about the final appearance of your RTA cabinets.